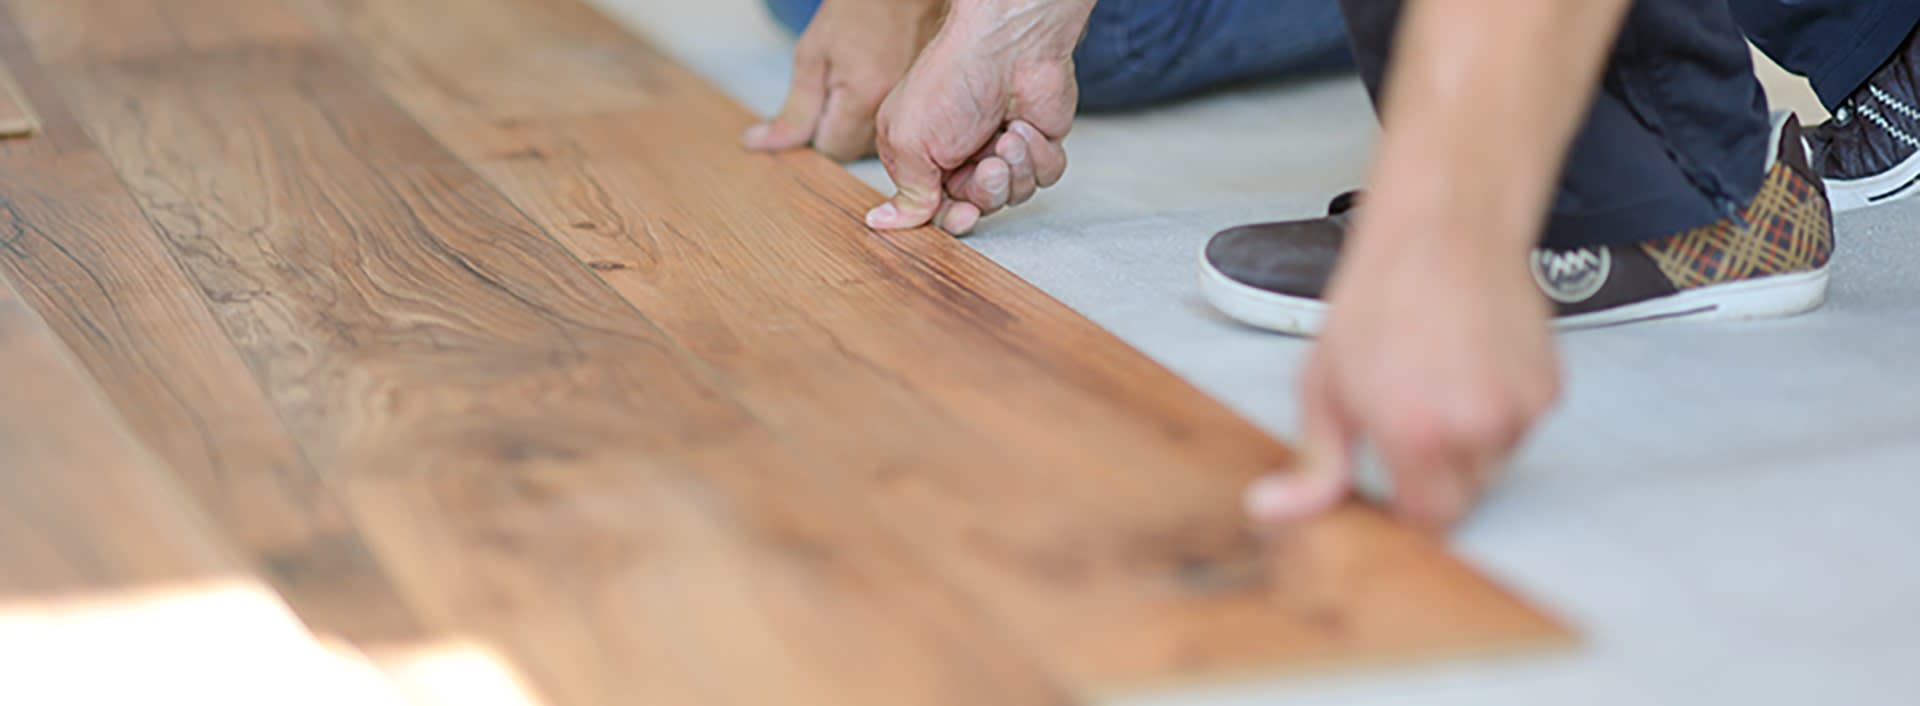
How to Lay Vinyl Plank Flooring Step-by-Step
Posted by David S. on 8th Jun 2023
Thursday, February 24, 2022
The basic principles in this article can be applied to laminate or vinyl plank flooring.
Vinyl flooring is a beautiful flooring choice. It holds its own amid the many different types of flooring options out there. In this guide, we walk you through the general steps for installing vinyl Plank Flooring.
Considerations Before Installing Vinyl Plank Flooring
There are three basic considerations that you should consider before installing Vinyl Plank Flooring. Those are:
1. The condition of the subsurface
2. The installation process itself, and
3. The care of a Vinyl floor once installed.
In the following guide, we go over all three of these considerations. Our goal is to help the DIY person understand the installation process.
The Subflooring and Surface

Because vinyl is softer and a little more flexible than laminate flooring, the subfloor has to be in excellent condition. Meaning that all the rough spots, seams between flooring, dips, and divots need sealing. If installing over concrete than make sure that you seal all cracks and pit.
- Goal:To prepare the subfloor so that it does not negatively impact the quality of the finished floor. Smooth, level and consistent are your goals.
- Sealers for Concrete and Wood Subfloors:Any of the top brand products work. It helps if the sealer is sandable so that you can create as level a surface as possible.
Before Installing Vinyl Flooring
You will hear this a lot, but vinyl flooring is softer than many other flooring types. For that reason, it is important that you acclimate the flooring to the room where it installation will occur. After you have prepped the subfloor:
- Take the flooring out of the box and stack it neatly.
- Let it sit in the room for 2-3 days.
Goal: To allow the flooring to come up to room temperature. The benefit is to you as you will find that the flooring is much easier to work with.
Prepping the Room: While the vinyl flooring is acclimating prep the room.
- Carefully remove the baseboards and doors. You can leave the door trim in place if there is enough room for the flooring to slide under the trim. If not, then cut the bottom of the trim away so that that flooring will fit underneath of it.
- Test the room for Squareness: Not all rooms are squarely built. Testing that now helps you avoid serious labor issues later. Walls are sometimes bowed. You can overcome this problem by snapping down chalk lines as follows:
- Find and mark the center point of each wall. Using your chalk line, snap a line from the center of one wall to the center of the opposite wall. The result divides the room into four section.
- Determine which wall is the start-wall.Click vinyl floors are “Floating” floors and require a 5/16-inch expansion border around the perimeter of the room and any fixed objects. From the center of the start-wall, measure out 5/16 of an inch and do the same at each end of the wall. Use your chalk line to snap a straight line to connect the points. This will do two things. 1) It will give you an even line to place the first row of planks. 2) It will show you if the wall bows.
- Determine the number of rows of planks needed to complete the floor. Often, this will not be exact. If the last row of planks is less than 1/3 of the width of your vinyl planks split the difference between the starting row and the last row. What this does is it blends the flooring sizes. This helps hide the difference widths.
Installing the First Row of Vinyl Planks
If you have had to trim the first row of planks to make up for a short last row, then this step does not apply. The first row of planks does not need the tongue portion of the tongue-and-grove. Trim it off by scoring along its length. You can remove it using a utility knife.
Helpful Tip: Each row of planks must have staggered joints. The very last board must be longer than six inches. To make sure that happens, measure the row. If you need to adjust the length of the last board, you can trim the first board. Because this is the first row, the entire row is movable.
- Step One:Place the first plank on the chalk line (expansion gap) along the starting row. Make sure that the trimmed side faces the wall and that you are mindful of the expansion gap. You can tack down a guide to help hold the floor in place. Remove the guide at the end of the project.
- Step Two:Attaching the second board: The boards snap together. That happens by placing end of the second board to the end of the first board. With the second board at an upward angle, the two boards will snap together. Adjust the angle until the snap occurs.
- Trimming boards:The process is so simple. Simply score the plank with your utility knife, apply pressure and the seam will snap apart.
TIP: Place a small, round wooden dowel rod under the plank and apply pressure to the end of the board.
Preparing for the Second Row
The space between the end joints of planks between rows needs to be greater than six inches. Plan each row by trimming the first plank of that row so that the joint nearest preceding joint is greater than six inches.
- Attaching the second row of planks: Simply fit the tongue of the second-row plank into the groove of the first-row board. Hold the second plank at an angle, (similar to installing the ends of the first row,) and the two planks will snap together. Adjust the angle downwards until the snap occurs.
- Attaching the Second plank of the Second row: This is the most complex portion of the entire job. Start by attaching the second board's end to the first board in the second row. Next, Fit the tongue of the second plank of the second row into the groove of the corresponding first-row plank. Angle the plank downwards and the two planks will snap together. Repeat this for the rest of the flooring boards.
Overcoming Obstacles

The only real obstacle you should encounter is door trim. If you have cut the door trim so that the vinyl plank will fit under it then the process of doing so should be easy. If not, trim the door trim now.
To Place Planks under the door trim: Follow the above steps to connect the plank to the row and to the connecting row. Once the plank snaps into place, you can begin to fit it under the trim. To do so:
- Kneel on the end seam where the plank connects to its row. Then grab the plank at its middle part, place your free hand near the end that will go under the trim and gently bend the plank upwards from the middle while pushing down with your free hand. When the end of the plank reaches an ideal position, it will slide under the trim when you release the tension on the middle of the plank.
TIP: A longer plank makes this trick much easier. Do not be afraid to start your row at the door trim. If you encounter two door trim sections in the same row. Simply shorten both end planks to give you a long enough plank on each end.
Finishing the Project
With the last planks in place, the only chore left is to finish the project. That involves replacing the baseboards. If your vinyl plank floor butts up to another flooring surface, such as tile, then install and a transition plank that spans the joint between the two floors. If you install shoe molding do not nail it to the flooring. The flooring needs to be able to expand with temperature changes. All molding should be fixed to the wall.
Installing Peel and Stick Vinyl Floor Planks
The entire process is the same including the prep work for the subfloor. The difference is that there is no tongue and groove to snap together. Simply line up the plank where it will go. Peel off the backing and starting with one end fit the plank in place working from the joint to the other end of the plank.
TIP: When working with peel-and-stick planks, work slowly and ensure that the fit is exact.
About the Author
David S. loves to tell stories. He came from a fishing family so storytelling is likely genetic. His writing style translates easily to both blog and article formats. He is a patient writer who takes the time to understand your project. David writes a great deal about home living. His favorite place in the world is his home. He has a vast knowledge of antiques, art, and deep love of cooking. He likes to entertain and is the master of small parties and intimate dinners. They say home is where the heart is and they happen to be correct.
The articles and other content contained on this website/blog are provided for informational purposes only and should not be relied upon for any purposes. While it is our goal to provide you with up-to-date, relevant and useful information on a wide range of topics, we make no representations or warranties of any kind, whether express or implied, concerning the reliability, suitability, completeness or accuracy of any of the information made available on this site. The articles and information contained on this site are not intended to provide legal, accounting or other professional or business advice and should not be treated as a substitute for the advice of a professional with knowledge of the facts and circumstances of your specific situation. By accessing this site, you agree that you will not seek to hold E.C. Barton & Company or any of its affiliates liable for any losses or unanticipated costs or assert any other claim based on your use of this site or on the reliance on the content contained herein.